
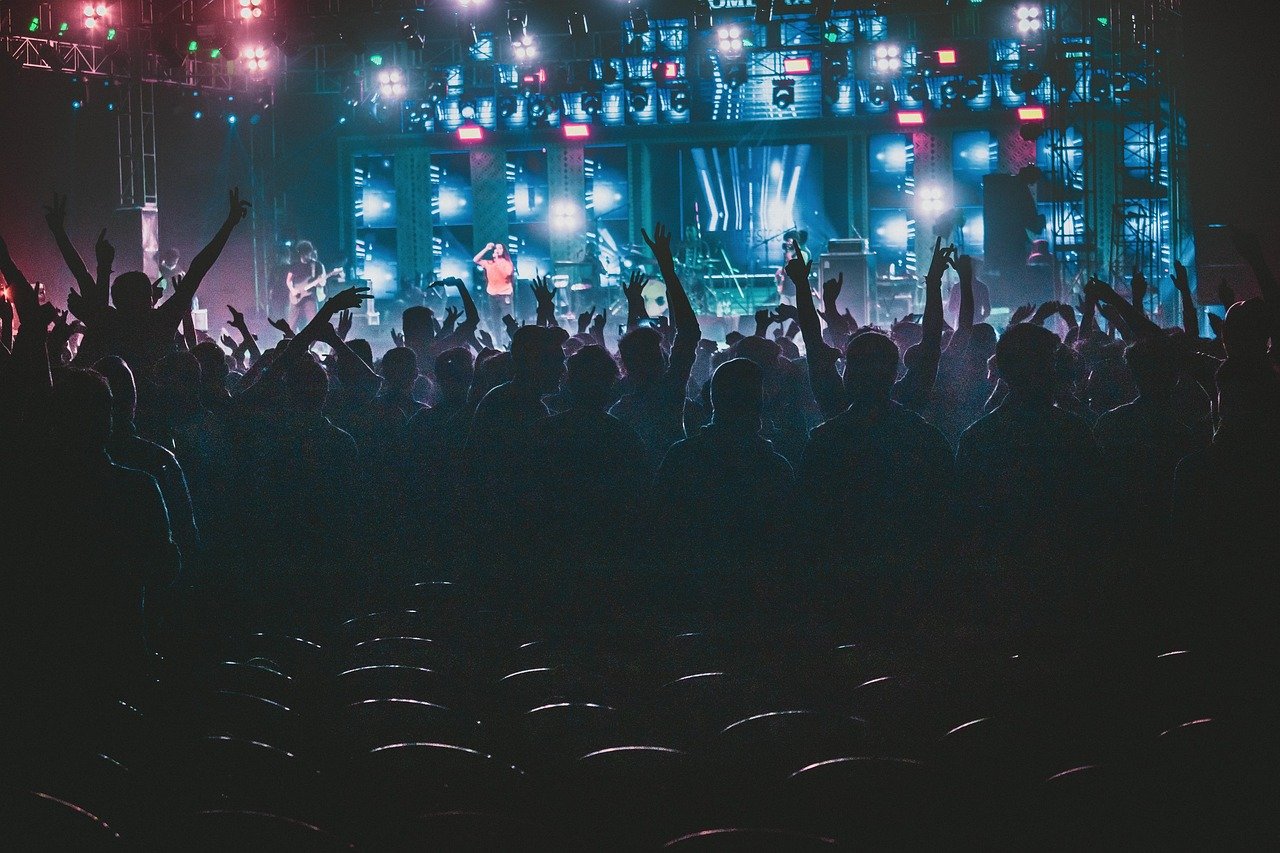
In a world saturated with digital content, what often sets exceptional experiences apart isn’t just visual spectacle, but the immersive power of high-quality sound. Audio production is the intricate art and science of capturing, manipulating, and enhancing sound to create compelling auditory experiences. From chart-topping music tracks and blockbuster film scores to engaging podcasts and crystal-clear corporate presentations, professional audio production is the invisible backbone that elevates content from merely seen to truly felt. Whether you’re an aspiring musician, a content creator, or simply curious about the magic behind the sounds you love, understanding the fundamentals of audio production is your gateway to a richer soundscape.
The Foundation: Understanding the Audio Production Workflow
Professional audio production is a systematic process, often broken down into distinct stages. Each phase builds upon the last, ensuring a cohesive and high-quality final product. Mastering this workflow is crucial for any aspiring audio producer or sound engineer.
Pre-Production: Laying the Groundwork
This initial stage is where all the planning and preparation happen. A solid pre-production phase can save countless hours and prevent major headaches down the line.
- Concept Development: Defining the purpose and desired outcome of the audio project (e.g., a song, a podcast episode, a voiceover).
- Arrangement & Songwriting (Music): For music, this involves composing, arranging instruments, and defining structure.
- Scripting & Storyboarding (Podcasts/Video): Planning dialogue, sound effects, and musical cues.
- Budgeting & Scheduling: Allocating resources, setting timelines, and booking studio time if necessary.
- Equipment Planning: Deciding on microphones, instruments, and other gear based on the project’s needs.
Actionable Takeaway: Never skip pre-production. A detailed plan is your roadmap to success, preventing costly re-dos and creative roadblocks.
Production: Capturing the Sound
This is the exciting stage where the audio is actually recorded. Precision and attention to detail here are paramount for capturing clean, high-fidelity sound.
- Microphone Selection & Placement: Choosing the right microphone for the source (e.g., a condenser for vocals, a dynamic for drums) and positioning it optimally for desired tone and clarity. A good rule of thumb is to experiment, but always start with recommended placements.
- Gain Staging: Setting appropriate input levels to ensure a strong signal without clipping (distortion). Aim for peak levels around -6dB to -10dB during recording to allow headroom for mixing.
- Room Acoustics: Understanding how your recording environment affects the sound. Treating a room with absorption panels or diffusers can significantly improve recording quality by reducing unwanted reflections and reverb.
- Performance & Takes: Guiding performers to deliver their best takes. Recording multiple takes and comping (combining the best parts) can yield a perfect performance.
Example: When recording vocals, ensure the singer is 6-12 inches from a pop filter, which itself is a few inches from the microphone. This reduces plosives and maintains consistent proximity effect.
Actionable Takeaway: “Garbage in, garbage out” applies here. Focus intensely on capturing the best possible sound at the source, as no amount of mixing can perfectly fix a poorly recorded track.
Post-Production: Refining and Finalizing
Once the audio is recorded, it enters post-production, where it’s transformed into a polished, professional product. This stage is typically divided into editing, mixing, and mastering.
- Editing: Cleaning up tracks, removing unwanted noise, correcting timing issues, and consolidating takes.
- Mixing: Balancing levels, frequencies, and dynamics of individual tracks to create a cohesive sound. This is where the creative magic of shaping the sound truly happens.
- Mastering: The final polish to optimize the overall loudness, clarity, and stereo imaging of the mixed track for distribution across various platforms.
Actionable Takeaway: Approach each post-production stage methodically. Resist the urge to jump into mixing before thorough editing, and certainly don’t master until your mix is perfect.
Essential Gear for Every Audio Producer
While talent and technique are paramount, having the right tools can significantly enhance your audio production capabilities. Here’s a breakdown of the core equipment you’ll need, whether you’re building a home studio or working in a professional facility.
Digital Audio Workstation (DAW): Your Creative Hub
The DAW is the central software where you record, edit, mix, and master your audio. It’s the brain of your studio.
- Features: Multi-track recording, MIDI sequencing, effects processing, virtual instruments, and comprehensive editing tools.
- Popular Choices:
- Ableton Live: Popular for electronic music and live performance due to its unique session view.
- Logic Pro X: A powerful, professional-grade DAW exclusive to macOS, known for its extensive instrument and effect library.
- Pro Tools: Industry standard for many professional studios, particularly in film and television post-production.
- FL Studio: Widely used for beat making and electronic music production, especially among beginners.
- Reaper: A highly customizable and affordable option, perfect for those on a budget.
Actionable Takeaway: Choose a DAW that aligns with your workflow and budget. Most offer free trials, so experiment before committing. Consistency with one DAW will lead to faster and more efficient work.
Microphones: Capturing the Source
Microphones are your first point of contact with sound. Different types excel at different tasks.
- Dynamic Microphones: Robust and versatile, great for loud sources like drums and live vocals (e.g., Shure SM57 for instruments, Shure SM58 for vocals).
- Condenser Microphones: More sensitive with a wider frequency response, ideal for studio vocals, acoustic instruments, and detailed sound capture (e.g., Rode NT1-A, Audio-Technica AT2020).
- Ribbon Microphones: Known for their warm, smooth, “vintage” sound, excellent for certain vocals, guitars, and brass instruments.
Practical Tip: Invest in a good quality large-diaphragm condenser microphone for vocals and acoustic instruments as a primary studio mic. Then add a versatile dynamic mic for other sources.
Actionable Takeaway: Understand microphone polar patterns (cardioid, omnidirectional, bidirectional) and frequency response to choose the right mic for the job. A single great microphone is better than several mediocre ones.
Audio Interface: The Bridge to Your Computer
An audio interface converts analog audio signals from microphones and instruments into digital data your DAW can understand, and vice-versa.
- Key Features: Preamplifiers for microphones, analog-to-digital (A/D) and digital-to-analog (D/A) converters, instrument inputs, headphone outputs, and MIDI I/O.
- Considerations: Number of inputs/outputs needed, connection type (USB, Thunderbolt), and driver stability.
- Popular Choices: Focusrite Scarlett series, Universal Audio Apollo, MOTU M-series.
Actionable Takeaway: Prioritize an interface with high-quality preamps and converters. A good interface minimizes noise and latency, which is crucial for a smooth recording experience.
Studio Monitors & Headphones: Your Critical Listening Tools
Accurate monitoring is essential for making informed mixing and mastering decisions.
- Studio Monitors: Flat-response speakers designed to reproduce audio as accurately as possible, without coloration (e.g., KRK Rokit, Yamaha HS series). Placement is crucial; aim for an equilateral triangle setup with your listening position.
- Studio Headphones: Over-ear, closed-back headphones for tracking (to prevent bleed) and open-back for mixing (for a more natural soundstage) (e.g., Sony MDR-7506, Sennheiser HD 600).
Practical Tip: Always cross-reference your mix on different playback systems (car stereo, phone speakers, earbuds) to ensure it translates well.
Actionable Takeaway: Invest in the best studio monitors and headphones you can afford. Your ears are your most important tool, and accurate monitoring ensures you’re hearing the truth of your mix.
Mixing Magic: Shaping Your Sound
Mixing is the creative art of blending and processing individual tracks to create a cohesive, balanced, and impactful final sound. It’s where raw recordings come alive, gaining depth, clarity, and emotional resonance.
Equalization (EQ): Sculpting Frequencies
EQ allows you to adjust the volume of specific frequency ranges within a sound. It’s used for cleaning up tracks, making instruments sit better in the mix, and enhancing desired characteristics.
- Subtractive EQ: Primarily used to remove unwanted frequencies (e.g., muddiness around 200-500Hz, harshness around 2-5kHz) to create space and clarity.
- Additive EQ: Used more sparingly to boost desirable frequencies (e.g., presence in vocals around 3-6kHz, warmth in bass around 60-100Hz).
- High-Pass/Low-Pass Filters: Removing extreme low or high frequencies that don’t contribute to a sound, cleaning up the overall mix.
Example: Applying a high-pass filter to a vocal track around 80-100Hz removes rumble and unwanted low-end noise, allowing the bass guitar or kick drum to occupy that space more effectively.
Actionable Takeaway: Start with subtractive EQ. Remove problematic frequencies first, then consider subtle boosts. Think about how each instrument’s frequency range interacts with others.
Compression: Taming Dynamics and Adding Punch
A compressor reduces the dynamic range of a sound, making the loudest parts quieter and the quietest parts louder, resulting in a more consistent and punchy sound.
- Threshold: The level at which the compressor begins to act.
- Ratio: How much the signal is reduced once it crosses the threshold (e.g., a 4:1 ratio means for every 4dB over the threshold, only 1dB passes through).
- Attack: How quickly the compressor reacts to signals above the threshold.
- Release: How quickly the compressor stops compressing after the signal falls below the threshold.
- Make-up Gain: Used to restore the overall volume lost during compression.
Practical Application: Compress vocals to keep them upfront and consistent. Apply parallel compression to drums to add punch and power without squashing dynamics.
Actionable Takeaway: Use compression purposefully. Don’t just slap it on every track. Understand what you want to achieve – control dynamics, add sustain, or create punch – and adjust parameters accordingly.
Reverb & Delay: Creating Space and Depth
These time-based effects are crucial for adding realism, dimension, and atmosphere to a mix.
- Reverb: Simulates the natural reflections of sound in a physical space (e.g., a hall, room, plate). It helps sounds sit together and creates a sense of depth.
- Delay: Creates discrete echoes of a sound. Can be used for rhythmic effects, thickening vocals, or adding spaciousness.
Example: A short, subtle plate reverb on vocals can make them sound more polished and present, while a longer hall reverb on a synth pad can create a vast, ambient soundscape.
Actionable Takeaway: Use reverb and delay on send effects rather than inserts. This allows you to blend the wet (effected) signal with the dry (original) signal and use the same reverb across multiple tracks for better cohesion.
Panning & Stereo Imaging: Crafting the Soundstage
Panning determines the position of a sound in the stereo field (left-to-right), while stereo imaging techniques control the perceived width and depth of sounds.
- Basic Panning: Distributing instruments across the stereo spectrum to prevent muddiness and create clarity (e.g., kick and bass centered, guitars panned left and right).
- Mid/Side Processing: Advanced technique to independently process the center (mono) and side (stereo) components of a sound, allowing for broader stereo width without sacrificing mono compatibility.
- Doubling/Layering: Recording multiple takes of an instrument and panning them slightly apart can create a wider, thicker sound.
Actionable Takeaway: Strive for a balanced stereo image. Use panning to create space and interest, but always check your mix in mono to ensure no crucial elements disappear when collapsed to mono.
Mastering Your Masterpiece: The Final Polish
Mastering is the final crucial step in audio production, the last chance to optimize your audio before it reaches the listener. It’s often misunderstood, but it’s vital for achieving competitive loudness, clarity, and ensuring playback consistency across all platforms.
What is Audio Mastering?
Mastering is the process of taking a stereo mix and preparing it for distribution. It involves a series of subtle, yet powerful, adjustments to the overall sound.
- Cohesion: Ensuring all tracks on an album have a consistent sonic character and loudness.
- Clarity & Impact: Enhancing the overall clarity, punch, and presence of the mix.
- Loudness Optimization: Achieving a commercially competitive loudness level while preserving dynamic range.
- Format Preparation: Encoding the audio into the correct formats for various distribution platforms (e.g., Spotify, Apple Music, CD).
Important Note: Mastering cannot fix fundamental issues in a bad mix. It’s a refinement process, not a rescue mission. A great master starts with a great mix.
Actionable Takeaway: Send your mastering engineer a mix that you are 100% happy with. Do not try to compensate for mastering during mixing by making your mix overly loud or compressed.
Key Mastering Tools and Techniques
Mastering engineers use specialized tools and their trained ears to make the final adjustments.
- Equalization (EQ): Very subtle broad-stroke EQ to sweeten the overall tone or correct minor frequency imbalances across the entire mix.
- Multi-band Compression: Compressing specific frequency ranges independently to control dynamics more precisely without affecting the whole spectrum.
- Limiting: The most crucial tool for achieving commercial loudness. A brickwall limiter prevents any peaks from exceeding a set threshold (typically 0dBFS or slightly below), effectively raising the overall perceived volume.
- Stereo Widening: Subtle enhancements to broaden the stereo image if needed, always checking for mono compatibility.
- Dithering & Noise Shaping: Processes applied when reducing bit depth (e.g., from 24-bit to 16-bit for CD) to minimize quantization errors and preserve perceived detail.
Example: A mastering engineer might apply a gentle 0.5dB boost at 10kHz to add “air” and sparkle to a track, or use a multi-band compressor to control a slightly boomy low-end without affecting the rest of the frequency spectrum.
Actionable Takeaway: When self-mastering, use a limiter as the final plugin on your master bus. Aim for a target loudness (e.g., -14 LUFS for streaming services) rather than just pushing for maximum loudness, to preserve dynamics and avoid unpleasant artifacts.
Loudness Standards and Distribution
In the age of streaming, understanding loudness standards is more important than ever. Services like Spotify, Apple Music, and YouTube normalize tracks to specific LUFS (Loudness Units Full Scale) targets.
- LUFS: A standard for measuring perceived loudness. Aiming for targets like -14 LUFS or -16 LUFS (depending on the platform) is often recommended.
- True Peak: Ensure your mastered track doesn’t exceed -1dBTP (True Peak) to avoid inter-sample peaks that can cause distortion during playback on some systems.
- Delivery Formats:
- WAV/AIFF: Uncompressed, high-quality audio files (e.g., 24-bit, 44.1kHz or 48kHz) are typically required for distribution.
- MP3/AAC: Lossy compressed formats used for casual listening, but not recommended for initial master delivery.
Statistic: Most major streaming platforms normalize audio to around -14 LUFS (Spotify) to -16 LUFS (YouTube). Mastering your track significantly louder than these targets can actually result in it being turned down by the platform, potentially making it sound less dynamic than a well-mastered, less loud track.
Actionable Takeaway: Research the specific loudness and true peak recommendations for your target distribution platforms. Use a LUFS meter (many DAWs have them built-in, or free VSTs are available) to monitor your track’s loudness and aim for the sweet spot, not just maximum volume.
Conclusion
Audio production is a multifaceted journey that blends technical skill with creative artistry. From the meticulous planning of pre-production to the intricate dance of mixing and the final polish of mastering, each stage plays a vital role in bringing sound to life. Mastering this craft requires patience, continuous learning, and a keen ear. While the tools and technologies constantly evolve, the fundamental principles of capturing, enhancing, and delivering compelling audio remain timeless. Embrace the process, experiment with techniques, and never stop listening critically. Your journey into the world of professional audio production is a pathway to creating impactful and unforgettable auditory experiences that resonate deeply with audiences.